To Open Rating Product Page: Go To Central -> Reputation and Competitive Analysis -> Ratings and Review Capture
Open Ratings Settings
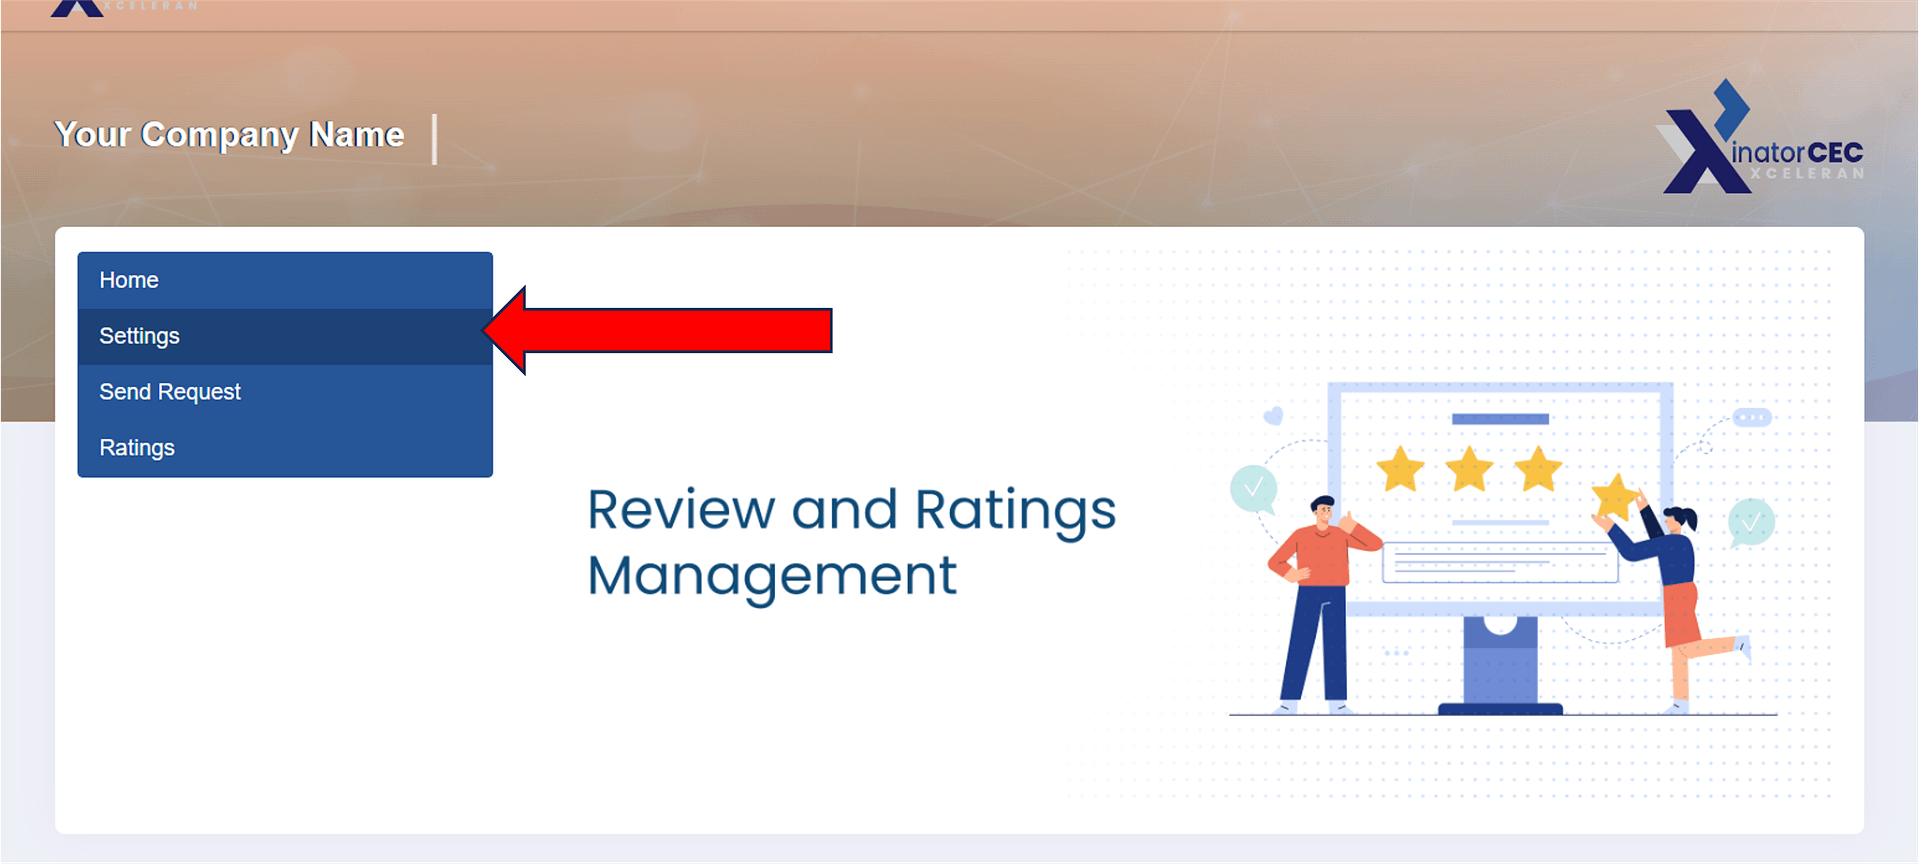
To Open Rating Setting Page: Click Settings
Set New Ratings
Fill in all the required fields marked with the red star(*) Settings:
Title: title/name of your rating request
Review Threshold: Only ratings equal to or above the given threshold rating will be posted on review sites. Select your threshold.
Below Threshold Rating Message: Add text that will appear if the user gives ratings below the threshold that was set in the Review threshold.
High Rating Message: Add text that will appear if the customer gives a rating above the threshold that was set.
Review Post Url:List your company’s social media sites by comma(,) separator where you want the ratings to appear.
Review Post Url: If this checkbox is not checked any review or rating given on this specific survey will not show on the auto-posting review website.
**Click Save Changes button to save the changes
Set New Ratings
SMS Create/edit the SMS (text) messages that will be sent to the customers with the page link to give their ratings.
Request Message Text: The body of SMS/text message. NOTE: Like in other Auto messages you can use brackets [ ] around database fields like Name and Date to personalize the message.
**Click Save Changes button to save the changes
Set New Ratings
Email Email messages that will be sent to the customers with the page link [a click Start Rating button will redirect to the page] to give their ratings.
Subject Title: Email Subject that your customer will see.
Email Body: Email body text that will be sent to the customer with a button named Start Rating. On clicking the button it will redirect the customer to the rating page.
NOTE: Like in other Auto messages you can use brackets [ ] around database fields like Name and Date to personalize the message.
**Click Save Changes button to save the changes
To See Ratings List
Manually Send Rating Request To Customer
1. Click on Envelop from the Action Column 2. A pop will appear for the send ratings and survey
Send Rating Request To Customer
This will open a Pop-Up
First Name: Give the Customer the First Name to whom you want to send the rating request.
Last Name: Give the Customer the Last Name to whom you want to send the rating request.
Title: Choose the desired communication process Email or SMS to send the rating request.
Title: Auto-fills the Title you have selected from the list of ratings and it will also auto-populate the relevant email subject and email body for the customer.
Email Subject: It will auto-populate based on the selected Title: Customer can also modify it before sending.
Email Body: It will auto-populate based on the selected Title: Customer can also modify it before sending.
**Click the Send Ratings Email button the email will be sent with a link.
Customer View
The customer will receive an email with the rating link. On clicking the Start Rating button it will redirect to the page where customer will give their ratings.
Customer View
Here Customer will give their ratings.
Customer View
If the Customer gave a rating that is equal to or higher than the threshold [High rating] the user has set it on their settings page then the company site URL will show.
Click this link it will redirect the customer to the company’s social media site to give their review.
Customer canalso leave their comment in the comment box which will automatically post on the company site.
**On click Submit button the comment will be saved on the company website.
Customer View
If the Customer gives a rating that is below the threshold [Low rating] that is set on the settings page then a message with a comment box will appear.
In this comment box, user can give their complaint or any message they wish to let the company know.
But this comment will not automatically post on the website because it has low ratings
**On click Submit button the comment will be saved on the company side.
Rating Responses
To See the rating Responses given by the customers go to Ratings.
Rating Responses
These are all of the responses given by the customers.
On Message Row
If the customer has given a review directly on the company site on the message row it will show as If the customer gave a rating and submitted no comment the message will show [No Review].
If the customer gives a rating and submits any comment the message will show [The comment sent by the customer].
Click the view button user can see how many stars are given by the user.
Showcasing ratings on your site
A step-by-step guide for inserting the iframe HTML code into your HTML webpage or WordPress page:
First: Go to Showcase Link.
Copy the link from here and save it somewhere.
For HTML Webpage:
1. Open HTML Editor: Open the HTML file of your webpage using a text editor or an HTML editor of your choice.
2. Locate Insertion Point: Decide where you want to insert the iframe on your webpage. This could be within the `<body>` tag where you want the iframe to appear.
3. Insert iframe Code: Insert the following code at the desired location:
4. Save Changes: Save the HTML file after adding the iframe code.
5. Upload to Server (if needed): If your webpage is hosted online, upload the modified HTML file to your web server using FTP or your hosting provider’s file manager.
6. Test: Open your webpage in a web browser to ensure that the iframe is displaying correctly with the desired content.
**Replace `YOUR_URL_HERE` with the URL you copied from the “Showcase Link” page to embed in the iframe. You can also adjust the `width` and `height` attributes according to your preference.
For WordPress Page:
1. Log in to WordPress Admin: Log in to your WordPress admin dashboard.
2. Edit Page: Navigate to the page where you want to insert the iframe and click on “Edit”.
3. Add a Custom HTML Block: Within the page editor, click on the place where you want to insert the iframe. Then, click on the “+” icon to add a new block.
4. Search for Custom HTML: In the block inserter, search for “Custom HTML” or scroll down to find it in the “Formatting” section.
5. Insert Custom HTML Block: Click on the “Custom HTML” block to insert it into the page.
6. Insert iframe Code: Within the Custom HTML block, paste the following code:
**Replace `YOUR_URL_HERE` with the URL you copied from the “Showcase Link” page to embed in the iframe. You can also adjust the `width` and `height` attributes according to your preference.
7. Update Page: Once you’ve added the iframe code, click on the “Update” button to save the changes to the page.
8. Preview or Publish: You can either preview the page to see how the iframe looks or directly publish it for your visitors to see.
9. Test: Visit the page on your WordPress site to ensure that the iframe is displaying correctly with the desired content.